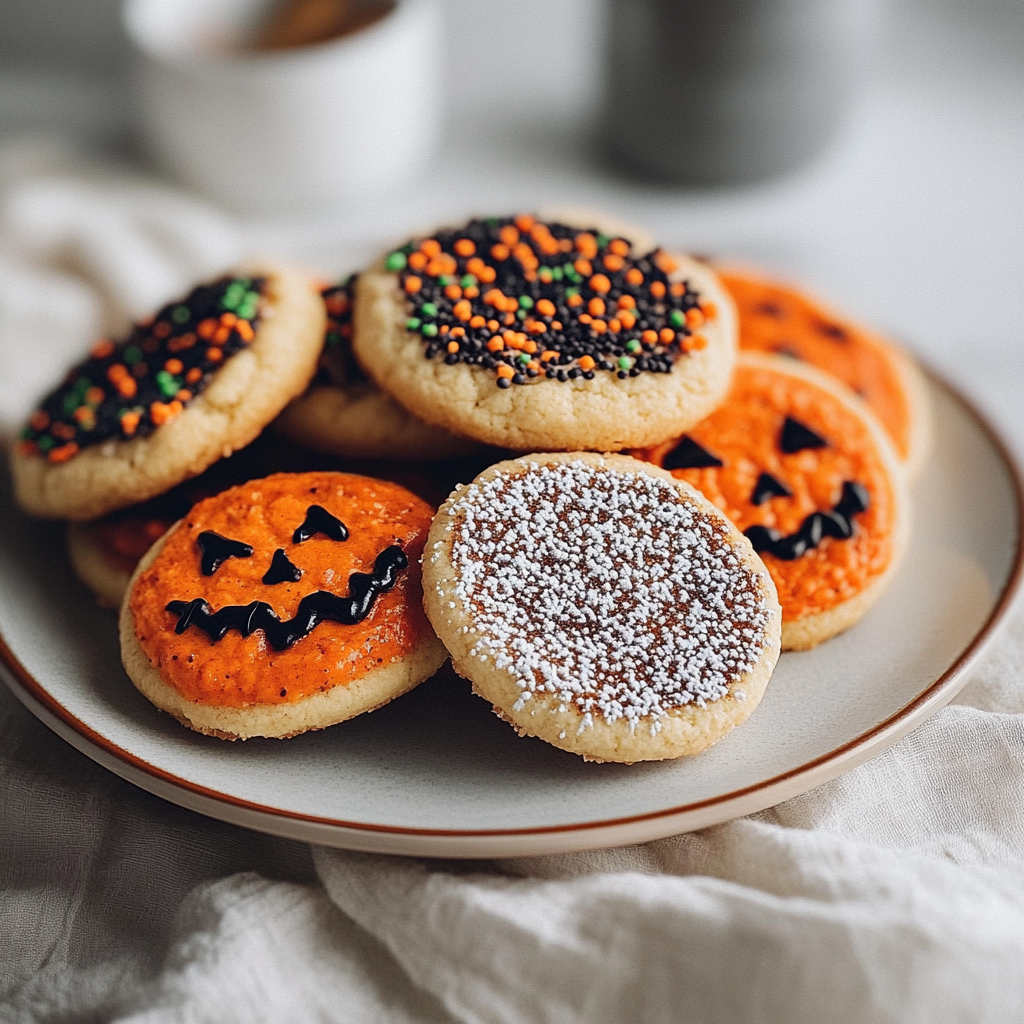
The aroma of freshly baked cookies wafts through the air, mingling with the sweet anticipation of Halloween. Picture this: spooky, delightfully decorated cookies that not only satisfy your sweet tooth but also bring a grin to your face. These Halloween cookies decorated with ghoulish icing and sprinkles will have you howling with joy!
Jump to:
- Ingredients for halloween cookies decorated
- How to Make halloween cookies decorated
- <strong>Perfecting the Cooking Process</strong>
- <strong>Add Your Touch</strong>
- <strong>Storing & Reheating</strong>
- FAQs
- How can I decorate Halloween cookies?
- What types of cookies are best for Halloween?
- Can I make Halloween cookies ahead of time?
- How do I store decorated Halloween cookies?
- Conclusion for halloween cookies decorated
- 📖 Recipe Card
As a kid, I remember sneaking into the kitchen to “help” my mom bake for our Halloween party, only to munch on dough and sneak bites of frosting when no one was looking. Now, I can’t resist passing down this tradition of spooky baking magic. So grab your apron, because these cookies are about to become the star of your Halloween festivities!
Why You'll Love This Recipe
- These Halloween cookies decorated are incredibly easy to make, perfect for both beginner bakers and seasoned pros.
- The flavor is a delightful mix of sweetness balanced with a touch of vanilla that everyone loves.
- Visually, they’re a feast for the eyes, turning any gathering into a festive celebration.
- Plus, they’re versatile enough to switch up decorations based on your mood or theme!
Ingredients for halloween cookies decorated
Here’s what you’ll need to make this delicious dish:
- All-Purpose Flour: The backbone of our cookie dough, giving it structure and chewiness.
- Granulated Sugar: This adds sweetness that balances the flavors beautifully.
- Butter: Use unsalted butter for better control over the saltiness; it’s crucial for rich flavor.
- Eggs: Binding agents that help keep our cookies moist and add richness.
- Baking Powder: This magical ingredient ensures our cookies rise just right and achieve that perfect texture.
- Vanilla Extract: It introduces an aromatic depth that makes these cookies irresistible.
For the Decorations:
- Royal Icing: A simple mixture of egg whites and powdered sugar used for decorating; it dries hard for easy handling.
- Food Coloring: Get creative! Choose vibrant colors to match your spooky themes.
- Sprinkles: These fun toppings add personality and crunch to your cookies!
The full ingredients list, including measurements, is provided in the recipe card directly below.
How to Make halloween cookies decorated
Follow these simple steps to prepare this delicious dish:
Step 1: Preheat Your Oven
Start by preheating your oven to 350°F (175°C). It’s essential to have it nice and hot so those cookies can rise perfectly.
Step 2: Mix Dry Ingredients
In a large bowl, whisk together flour and baking powder until well combined. This ensures even distribution when mixed with wet ingredients.
Step 3: Cream Butter and Sugar
In another bowl, beat together softened butter and granulated sugar until fluffy. Add in eggs one at a time along with vanilla extract. Mix until everything is well blended into a creamy dream.
Step 4: Combine Mixtures
Gradually add the dry ingredients into the wet mixture while mixing on low speed. You want a smooth dough without any lumps—like making a potion but tastier!
Step 5: Shape Your Cookies
Scoop tablespoons of dough onto ungreased baking sheets, spacing them out about two inches apart. No one likes crowding at their Halloween parties!
Step 6: Bake
Pop those trays into the oven and bake for about 10-12 minutes or until lightly golden around the edges. Keep an eye on them; you want them soft yet set!
Once cooled, let’s get decorating! Transfer the cookies onto a cooling rack before using royal icing and sprinkles to create eerie designs.
Serve these delightful Halloween cookies decorated at your next party or simply indulge in them yourself—they’re perfect for sharing…or not! Enjoy every spooky bite!
You Must Know
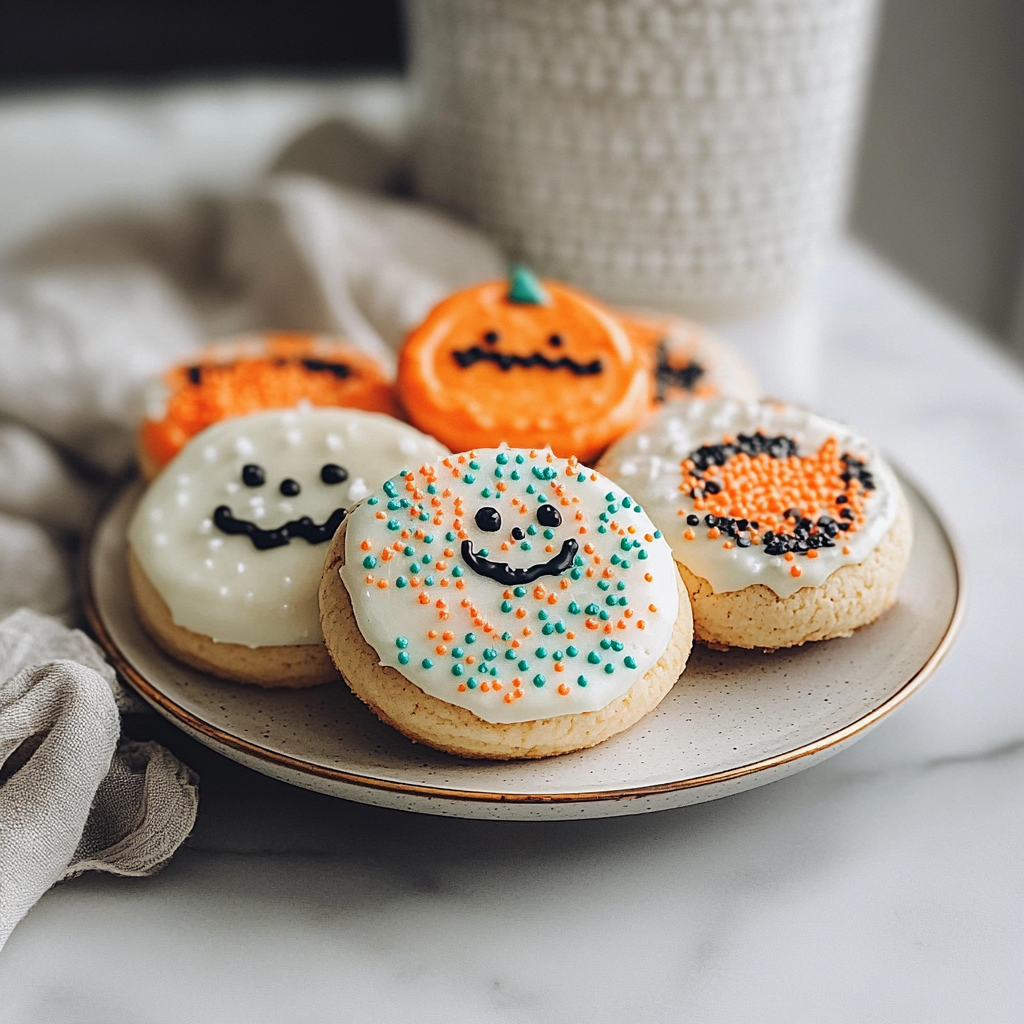
- These Halloween cookies decorated with spooky designs are not just fun to make; they are a treat everyone will remember.
- Their vibrant colors and playful shapes bring the spirit of Halloween to life, making them perfect for parties or trick-or-treaters.
Perfecting the Cooking Process
Start by mixing your cookie dough and chilling it for about an hour. While it’s chilling, prepare your icing and gather your decorations. Once chilled, roll out the dough, cut into shapes, and bake until lightly golden.
Add Your Touch
Feel free to swap out traditional flavors like vanilla for almond or add in sprinkles for extra crunch! You could also use royal icing instead of standard icing for a more professional finish or even add edible glitter for that touch of magic.
Storing & Reheating
Store your decorated Halloween cookies in an airtight container at room temperature for up to a week. If you need to reheat them slightly, pop them in the microwave for just 5-10 seconds to soften.
Chef's Helpful Tips
Sometimes I think back to the Halloween party where my cookies were the highlight—kids couldn’t get enough of those spooky shapes. It felt amazing to see their faces light up with each bite!
FAQs
How can I decorate Halloween cookies?
Decorating Halloween cookies can be a fun and creative process. Start by baking your favorite sugar or gingerbread cookies. Once cooled, use royal icing to create a smooth base layer. Let that dry before adding details like spider webs or ghost faces with different colors of icing. You can also use edible glitter, candy eyes, or sprinkles for extra flair. Remember, the key to great decoration is patience and creativity!
What types of cookies are best for Halloween?
When it comes to Halloween cookies, sugar cookies and gingerbread cookies are top choices due to their versatility and easy handling. Sugar cookies provide a blank canvas for vibrant decorations, while gingerbread adds a warm spice flavor that resonates with the season. You can also experiment with pumpkin spice or chocolate cookies to offer variety at your Halloween gathering. Choose a recipe that complements your decorating style!
Can I make Halloween cookies ahead of time?
Absolutely! You can prepare Halloween cookies ahead of time without compromising taste or quality. Bake the cookies and let them cool completely before storing them in an airtight container at room temperature for up to a week. If you want to decorate them later, consider freezing undecorated cookies. Just thaw them in the fridge overnight before decorating. This approach saves you time on busy days leading up to Halloween.
How do I store decorated Halloween cookies?
Storing decorated Halloween cookies requires some care to maintain their appearance and freshness. Place the decorated cookies in an airtight container lined with parchment paper to prevent sticking. For added protection, separate layers with more parchment paper if you’re stacking them. Keep the container in a cool, dry place away from direct sunlight. Proper storage ensures your spooky treats stay delicious and visually appealing for your Halloween festivities.
If you’re craving more sweet treats, explore these delightful dessert recipes for your next baking adventure.
Conclusion for halloween cookies decorated
Creating beautiful Halloween cookies decorated with icing and festive toppings is an enjoyable experience for bakers of all levels. Focus on choosing the right cookie base, like sugar or gingerbread, and take your time with the decorating process to achieve stunning results. Remember that preparation ahead of time can ease stress as Halloween approaches. By following these tips, you’ll have delicious treats that will wow your guests at any celebration!
Did You Enjoy Making This Recipe? Please rate this recipe with ⭐⭐⭐⭐⭐ or leave a comment.
📖 Recipe Card
Print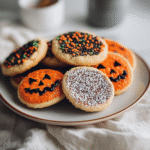
Irresistibly Spooky Halloween Cookies
- Total Time: 32 minutes
- Yield: Approximately 24 cookies 1x
Description
Delight in these festive Halloween cookies, adorned with ghoulish icing and sprinkles, perfect for satisfying your sweet cravings and bringing smiles to every gathering.
Ingredients
For the Cookie Dough:
- 2 ¾ cups all-purpose flour
- 1 cup granulated sugar
- 1 cup unsalted butter, softened
- 2 large eggs
- 2 tsp baking powder
- 1 tsp vanilla extract
For the Decorations:
- 2 cups royal icing (egg whites and powdered sugar mix)
- Food coloring (various colors)
- Assorted sprinkles
Instructions
For the Cookie Dough:
- 1. Preheat your oven to 350°F (175°C).
- 2. In a large bowl, whisk together flour and baking powder until well combined.
- 3. In another bowl, beat the softened butter and granulated sugar until fluffy. Add eggs one at a time along with vanilla extract, mixing until creamy.
- 4. Gradually add dry ingredients into the wet mixture while mixing on low speed until smooth.
- 5. Scoop tablespoons of dough onto ungreased baking sheets, spacing them about two inches apart.
- 6. Bake for 10-12 minutes or until lightly golden around the edges. Allow cookies to cool on a rack.
For Decorating:
- 1. Once cooled, use royal icing to create spooky designs on each cookie.
- 2. Add food coloring to icing for vibrant hues and sprinkle assorted toppings for extra flair.
- Prep Time: 20 minutes
- Cook Time: 12 minutes
- Category: Dessert
- Method: Baking
- Cuisine: American
Nutrition
- Serving Size: 1 cookie (30g)
- Calories: 120
- Sugar: 10g
- Sodium: 60mg
- Fat: 6g
- Saturated Fat: 4g
- Unsaturated Fat: 2g
- Trans Fat: 0g
- Carbohydrates: 15g
- Fiber: 0g
- Protein: 1g
- Cholesterol: 25mg